Why It's Not Too Late to Plant an Herb Garden + A Simple Herb Garden Planting Guide
(Some of the following are affiliate links. Any purchase through these links monetarily supports HIVEhome and HIVEhope Initiatives.)
If you are reading this, you may fall into one of 5 categories:
1. You planted a garden, and now you are obsessed and you want to know what else you can potentially plant!!!
2. You have not planted a garden, and you lament + want to know if it's too late to plant something… anything!
3. You are already planning next year's garden, and you want to get a head start.
4. You are a beginner, and are not sure what to plant, but you've heard of herb gardens and think surely you can keep herbs alive.
5. You like the idea of planting a garden, and you may spend the next five years reading and researching, but might never break ground.
There's room here for you all, and I want to quickly mention we've put together a fantastic Herb Garden Planting Guide complete with companion planting notes below. If you don't know what that is, it's basically the gardening method of planting plants next to one another for specific benefits such as increased or altered flavor, harvest, and beneficial soil conditions, as well as attracting or repelling particular insects. Scroll down to see, but our simple yet detailed guide gives you care + soil climate instructions, tips on when + how to harvest, general planting + companion planting suggestions and benefits. Also, if you find yourself truly interested, we have a list at the end of this post with items you may need / want to get started. But first, let me address each category.
Category 1: The green obsession and why you can still plant green things.
The struggle and bliss is real for those in category number one. Yes, my manic-green-enthusiasts, you may continue planting, and herbs are an excellent choice because they can fill in gaps, complement, encourage, and even enhance other plants in their growth + taste, as well as deter pests or attract needed insects. Our guide here helps you do so. Your only issues this time of year, depending where you live, may be finding organic herbs as planting from seeds is a bit late. However, if you are in the right climate + season, planting seeds may still be an option for you; especially if you have other plants beginning to mature, which allows seedlings that do not like the heat the ability to get started.

Category 2: Green Envy and why it's not too late.
I have been here! It's the worst when you have a green thumb or WISH you had green thumb, but you just can't get to it. Or maybe you decided not to do it this year... and then the remorse sets in, because now you are green with envy watching all the garden Instagram posts and Facebook boasts. I see you; I feel you. It's okay. It's going to be okay, and, as mentioned, it's not too late to plant an herb garden in a small raised bed, previous flower beds, or outdoor pots. You can even plant herbs indoors near a window with plenty of light. (Don't buy the counter systems with lights. Save your time, energy, and funds. Trust me.) Herbs are so easy, and do not require a lot of space! You can do it!
Category 3: Project green plan; now start planting.
I basically started planning next year's garden minutes after planting this year's seeds. Yes, it's a thing. I think I dream green now, because gardening is the stuff that dreams are made of. Well, if this is you, companion planting is going to be your jam. Take our guide and plan until your green heart's content.
Category 4: Baby Green thumb; get started.
It can be overwhelming to contemplate keeping something else other than oneself sustainably alive. It's like becoming a parent, only… more green. It should be less intimidating, but I know what it is to be human, but I’ve never been green. To empathize with a plant and feel its needs is a bit more alien than intuitive for many. However, like many things, that which was foreign becomes common once the language is understood. An herb garden is an excellent way to start gardening. Many herbs are hardy, easy to harvest, and if you end up keeping them alive but don't know what to do with them, let them flower and bolt. Then, they are beautiful in a different way, and still an enjoyable start to gardening. Do pay attention to what you plant next to each other though. It matters. Use our guide for the best results. It's not rocket science, but a little planning is worth your time. For example, you don't want to plant herbs that need a lot of water next to herbs that rarely need water.
Category 5: Green Research
Some are perpetual researchers for the pure joy of knowledge, but sharing is caring. Pass your knowledge on to the taskers, dreamers, and planners. Share this post and our Herb Garden Planting Guide! Also, true knowledge comes through experience. Use our guide to start your green pursuit.

Now, here she is, our Herb Garden Planting Guide! (Keep scrolling to download the Printable version.)
Ask us any questions below and find me talking about my garden over on instagram stories more often than not, I confess.

Andea Beims
Herb Garden Planting Guide
Anise:
Plant next to: coriander, beans
Keep away from: carrots, basil, rue
Attracts: wasps
Repels: aphids, because the wasps it attracts will eat aphids
Climate: Full Sun/Dry Soil
Care: Young plants need plenty of water until the plant is established, at which point it can withstand periods of drought and drier soil
When to Harvest: Harvest fresh leaves and flowers as needed. For drying, cut the entire plant before it flowers and hang it upside down to dry.
How to Harvest: When your anise plant is around 4 months old (about a month before the flowers will bloom), the plants should be cut for drying. Or, allow the plants to go through their entire growing cycle to harvest the seeds.
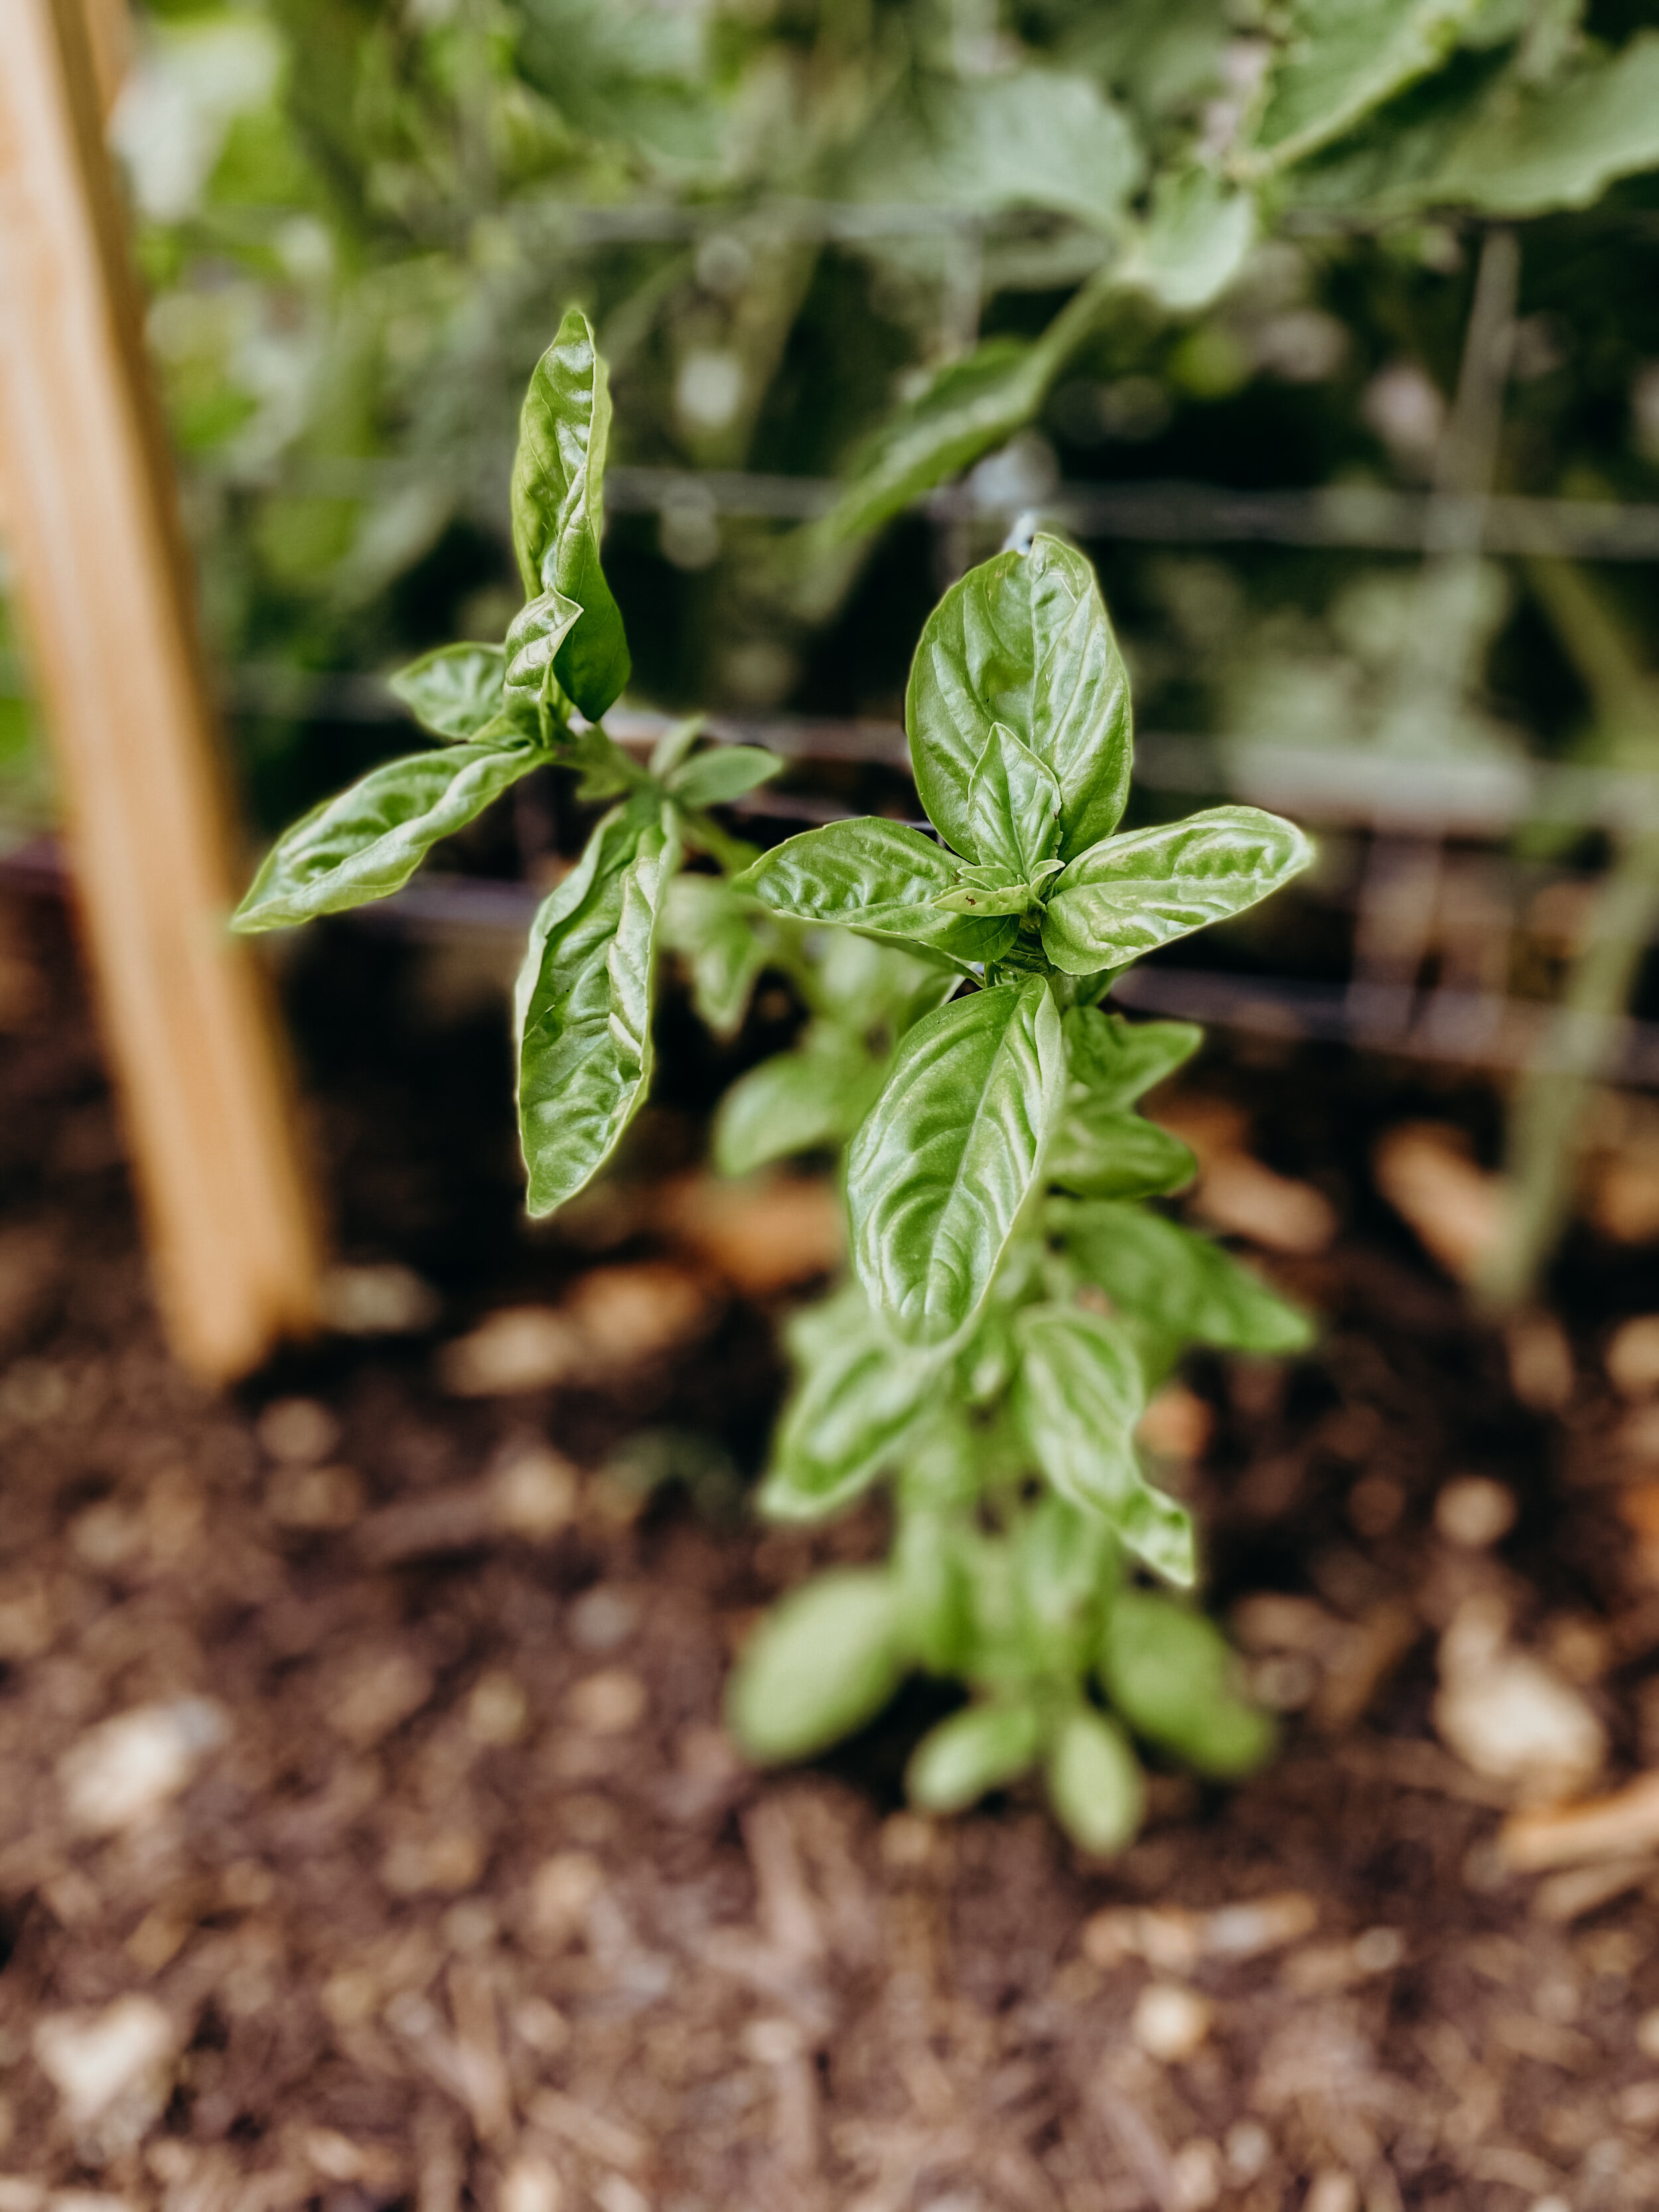
Basil:
Plant next to: tomatoes (most complementary), asparagus, also compatible with potatoes, beets, cabbage, beans, eggplant, chili, bell peppers, and marigolds (also a pest deterrent), pairs well with oregano and chamomile but otherwise prefers vegetables to herbs
Keep away from: rue and sage
Attracts: butterflies
Repels: mosquitoes, flies, asparagus beetle, thrips
Climate: Full or Partial Sun/Wet Soil
Care: Plant in late spring since basil is very sensitive to the cold
When to Harvest: It’s always better to harvest basil before the plant flowers. If you don’t have time to harvest any leaves, just pinch off the flowering portion. Also be sure to only harvest up to 2/3 of the entire plant, so it can continue producing.
How to Harvest: Basil is a pick-as-you-go kind of herb. You may harvest only what you need, or if you have an abundance on hand, you may clip a mass harvest. Harvest basil as you would mint, snipping a stem just above the point where two large leaves meet. Regular clipping encourages a more rounded, less leggy plant.
Borage:
Plant next to: almost anything but especially: strawberries, cucumbers, squash, tomatoes, and cabbage
Keep away from: plant near anything!
Attracts: predatory insects, honey bees, wasps
Repels: many pests, including tomato hornworms, cabbage worms
Climate: Full Sun/Wet Soil
Care: Mulch around borage to keep foliage off of the ground where it may rot. Keep planting beds well weeded to avoid competition for moisture. Tall plants may require staking or support. Remove faded flowers to prolong blooming. Pinch back plants when 6 inches tall to encourage bushiness.
When to Harvest: Snip fresh, young leaves in spring and summer as needed. Harvest young leaves before they develop bristly hairs. Older bristly leaves can be coarse. Flowers can be snipped individually or in clusters as soon as they open.
How to Harvest: Cut or snip leaves and flowers with a garden snip or scissors.
Carraway:
Plant next to: strawberries, peas, most vegetables
Keep away from: fennel, dill
Attracts: parasitic flies and parasitic wasps
Repels: caterpillars
Climate: Partial Sun or Shade/Dry Soil
Care: Avoid excessive pruning in the first year or the plant may be weakened. In cold-winter regions, caraway plants may need winter protection in order to produce flowers and seeds the second year. Pinch away flowers in the second year, and caraway will grow for another season.
When to Harvest: Snip caraway leaves from spring onward the first year for fresh use. Harvest seeds the second year after flowering but before seeds fall to the ground. Cut flower heads as seeds turn from yellowish to brown. Harvest roots as soon as flowering is finished.
How to Harvest: Allow seeds to dry out and turn brown. Place a paper bag around seed heads; seeds will drop into the bag as they ripen. Complete the harvest before the frost.
Chamomile:
Plant next to: basil, onion, cabbage, cucumber, beans, broccoli, kale, brussels sprouts, cauliflower, growing near herbs will increase their essential oil production
Keep away from: grows well next to nearly any plants!
Attracts: hoverflies, wasps, ladybugs
Repels: mosquitos
Climate: Partial Sun or Shade/Dry Soil
Care: Plants can be cut back in early spring to renew growth. Low-growing Roman chamomile can be cut with a lawnmower in early spring to encourage fuller growth. Keep the area around chamomile weed-free; it is a poor competitor against weeds.
When to Harvest: Chamomile flowers are ripe when the petals curl back toward the center in late summer or early fall.
How to Harvest: Cut whole stems and flowers of German chamomile. Pinch off the flowers of Roman chamomile.
Chives:
Plant next to: apples, carrots, tomatoes, broccoli, cabbage, mustard, peas, lettuce, celery, cucumber, roses, all herbs
Keep away from: beans and peas
Attracts: bees, butterflies, wasps
Repels: cabbage worms, carrot fly, aphids, Japanese beetles, cucumber beetles
Climate: Partial Sun or Shade/Wet Soil in warmer climates or Full Sun/Wet Soil in cooler climates
Care: Divide chive clumps every 2 to 3 years to prevent overcrowding. See Propagation below for directions. Protect chives from direct sun in hot climates with shade cloth. Deadhead plants regularly to avoid plants going to seed.
When to Harvest: Harvest fresh green leaves continuously early spring to fall, but don’t start harvest until plants are at least 6 inches tall about 5 weeks after planting. Established plants a year old or more can withstand regular harvest.
How to Harvest: Cut leaves with garden scissors or sharp knife. Cut the outer leaves first. Harvest from the base of leaves to avoid plants with cut tops. Leave about 2 inches of leaf blade above the soil in order for the leaves to regrow. Always leave some top growth on the clumps to preserve the strength of the bulbs. Stop harvest 3 weeks before the first frost date to allow plants to flower and the clump to expand. Garlic chives can be pulled roots and all.
Cilantro/Coriander:
Plant next to: tomato, spinach, pairs well with many herbs: basil, mint, tansy, yarrow, lavender, and dill (*but only plant lavender or dill with cilantro as dill/lavender are not good pairings)
Keep away from: fennel (highly competitive with each other)
Attracts: tachinid flies, parasitoid wasps and hoverflies
Repels: aphids, potato beetles and spider mites
Climate: Partial Sun or Shade/Wet Soil in warmer climates or Full Sun/Wet Soil in cooler climates. Thrives in cool season.
Care: Keep planting beds weed-free to reduce competition for nutrients and light. Tall stems may require staking. Pinching off flowers will slow bolting.
When to Harvest: Cilantro leaves can be harvested at any time after the plant is 6 to 8 inches tall. Plants mature 60 to 75 days after sowing. To harvest coriander seed, the plant requires 100 or more days.
How to Harvest: Snip cilantro leaves for fresh use after the plant is 6 inches tall or more. Small immature leaves have the best flavor. Pick just the top 2 to 3 inches to ensure continuous growth. Snip off the tops of stems before the plant flowers for a continued harvest of leaves. Continue picking leaves until the plant flowers.
Dill:
Plant next to: lettuce, cucumbers, corn, asparagus, onions, cabbages, brussels sprouts, (one of the few plants that grows well with fennel)
Keep away from: carrots, tomatoes, potatoes, peppers, and eggplant as well as lavender
Attracts: beneficial insects (lady bugs, butterflies, caterpillars, honey bees, wasps, hoverflies, and the majestic praying mantis)
Repels: aphids, cabbage loopers, and spider mites
Climate: Full Sun/Dry Soil
Care: Keep the planting bed well weeded; weeds compete for nutrients and water
When to Harvest: Snip fresh dill leaves as needed during the growing season after plants have reached 8 inches tall or more. Dill leaves have the best flavor just before flowers open, about 70 days after sowing. Dill seed is ready for harvest about 90 days after sowing when seeds are flat and brown; harvest seeds when they are ripe but before they fall to the ground. Collect flower heads and hang them in a paper bag so the seeds drop into the bag.
How to Harvest: Cut leaves or stems with a garden snip or scissors.
Fennel:
Plant next to: dill
Keep away from: almost everything, except dill (fennel is allelopathic to most garden plants, inhibiting growth, causing to bolt, or actually killing many plants)
Attracts: ladybugs, syrphid fly, tachinid fly
Repels: aphids, spider mites, squash bugs, cabbage looper
Climate: Full Sun/Dry Soil
Care: Common fennel can grow 4 to 5 feet tall and may require staking or supports, especially if it is growing in a windy spot. Mound soil up around the base of Florence fennel to blanch the bulb and make it tender.
When to Harvest: Fennel leaves can be snipped for fresh use once plants are 6 inches tall or more and established. Snip leaves before flowering. Common fennel will reach maturity in 60 to 70 days. Harvest the seeds of common fennel after flowering when they turn brown. The thick bulbs at the base of Florence fennel can be eaten like a vegetable as soon as it is large enough to eat; peak flavor of the bulb comes after flower buds have formed but before blossoms begin to open. Harvest seeds when they turn from yellowish-green to brown. If you do not want seeds, snip away flowers as they form.
How to Harvest: Use snips or scissors to harvest leaves. Cut only the top 2 or 3 inches to ensure regrow.
Garlic:
Plant next to: roses, raspberries, beets, strawberries, tomatoes, lettuces, chamomile, most plants
Keep away from: asparagus, peas, beans, sage, parsley
Attracts: garlic deters most pests!
Repels: almost all pests
Climate: Full Sun/Dry Soil
Care: Keep planting beds weed-free. Mulch around plants with aged compost to keep down weeds and to feed the plants. Pinch away blossom if you are growing hard-neck garlic to focus a plant’s efforts on bulb formation rather than foliage. Flowers will appear in early summer. (Flower stalks can be added to stir-frys.) Mulch planting beds heavily with straw or hay before the first hard freeze if garlic is staying in the ground over the winter. When stems begin to yellow, bend them to the ground without breaking them; this is called “lodging” and promotes bulb formation. Avoid planting garlic where onions or garlic have recently grown.
When to Harvest: Harvest bulbs when the tops start to dry and turn brown, about 2 to 3 weeks after lodging. About 75 percent of the top growth should be brown at harvest time. To know if bulbs are ready for harvest, lift one or two and break them apart. If bulbs are unsegmented and difficult to separate, it is too early. Check again in a week or two. Ripe bulbs should easily pull away from the stems. The skins of bulbs just right for harvest will be thick, dry, and papery. The skins of bulbs left in the ground too long will be loose and deteriorate. It is better to harvest a bit early than too late.
How to Harvest: Lift garlic bulbs with a garden fork being careful not to bruise or cut the skins. Allow bulbs to dry in an airy place for 3 to 4 weeks after harvest until the outer skins turn papery. Save the largest bulbs to replant next season.
Lavender:
Plant next to: basil, mint, rosemary, broccoli, cabbages, brussels, celery
Keep away from: most vegetables
Attracts: repels most insects and bugs!
Repels: mosquitoes, flies, spiders, mites, lice, fleas
Climate: Full Sun/Dry Soil
Care: Removing spent blooms will spur new blooms. Trim back foliage after blooming to shape the plant. Prune plants back by half in spring; remove dead wood and shape the plant. If you prune old wood, it will not regrow. Plants can weaken over 5 years or so and new ones can be started from cuttings in summer. Rejuvenate the soil with aged compost or aged manure before planting new plants.
When to Harvest: Harvest lavender flowers as they begin to open. Harvest flowers for drying before midday; that’s when the oils are most concentrated.
How to Harvest: Snip flowers and stems with a garden pruner. Remove flower stalks after they have faded if you have not taken them sooner.
Marjoram:
Plant next to: a good companion to all vegetables
Keep away from: can be planted near all vegetables!
Attracts: bees, butterflies, wasps
Repels: N/A
Climate: Full Sun/Dry Soil
Care: Keep marjoram pinched back to induce bushy growth and enhance flavor. Prune in late spring before the plant flowers to encourage vegetative growth; prune again in midsummer so that it does not become woody. Marjoram can sprawl; either cut it back or give it plenty of room to grow. Replace 3 or 4-year-old plants. If you cut marjoram back by one-third when flower buds appear; new leaves will form to extend the harvest. (Dry and store the clippings for seasoning.) In cold-winter regions, divide plants in fall and over-winter the divisions indoors in a sunny window for re-planting out in spring.
When to Harvest: Marjoram is ready for harvest 60 days after sowing. Cut fresh leaves as needed once plants are 4 to 6 inches tall. The flavor of marjoram leaves intensifies in hot weather. Cut-and-come-again harvesting will renew plants. The flavor is best before the plant flowers. You can extend the harvest by removing the flower buds as they form.
How to Harvest: Snip leaves with a garden pruner or scissors.
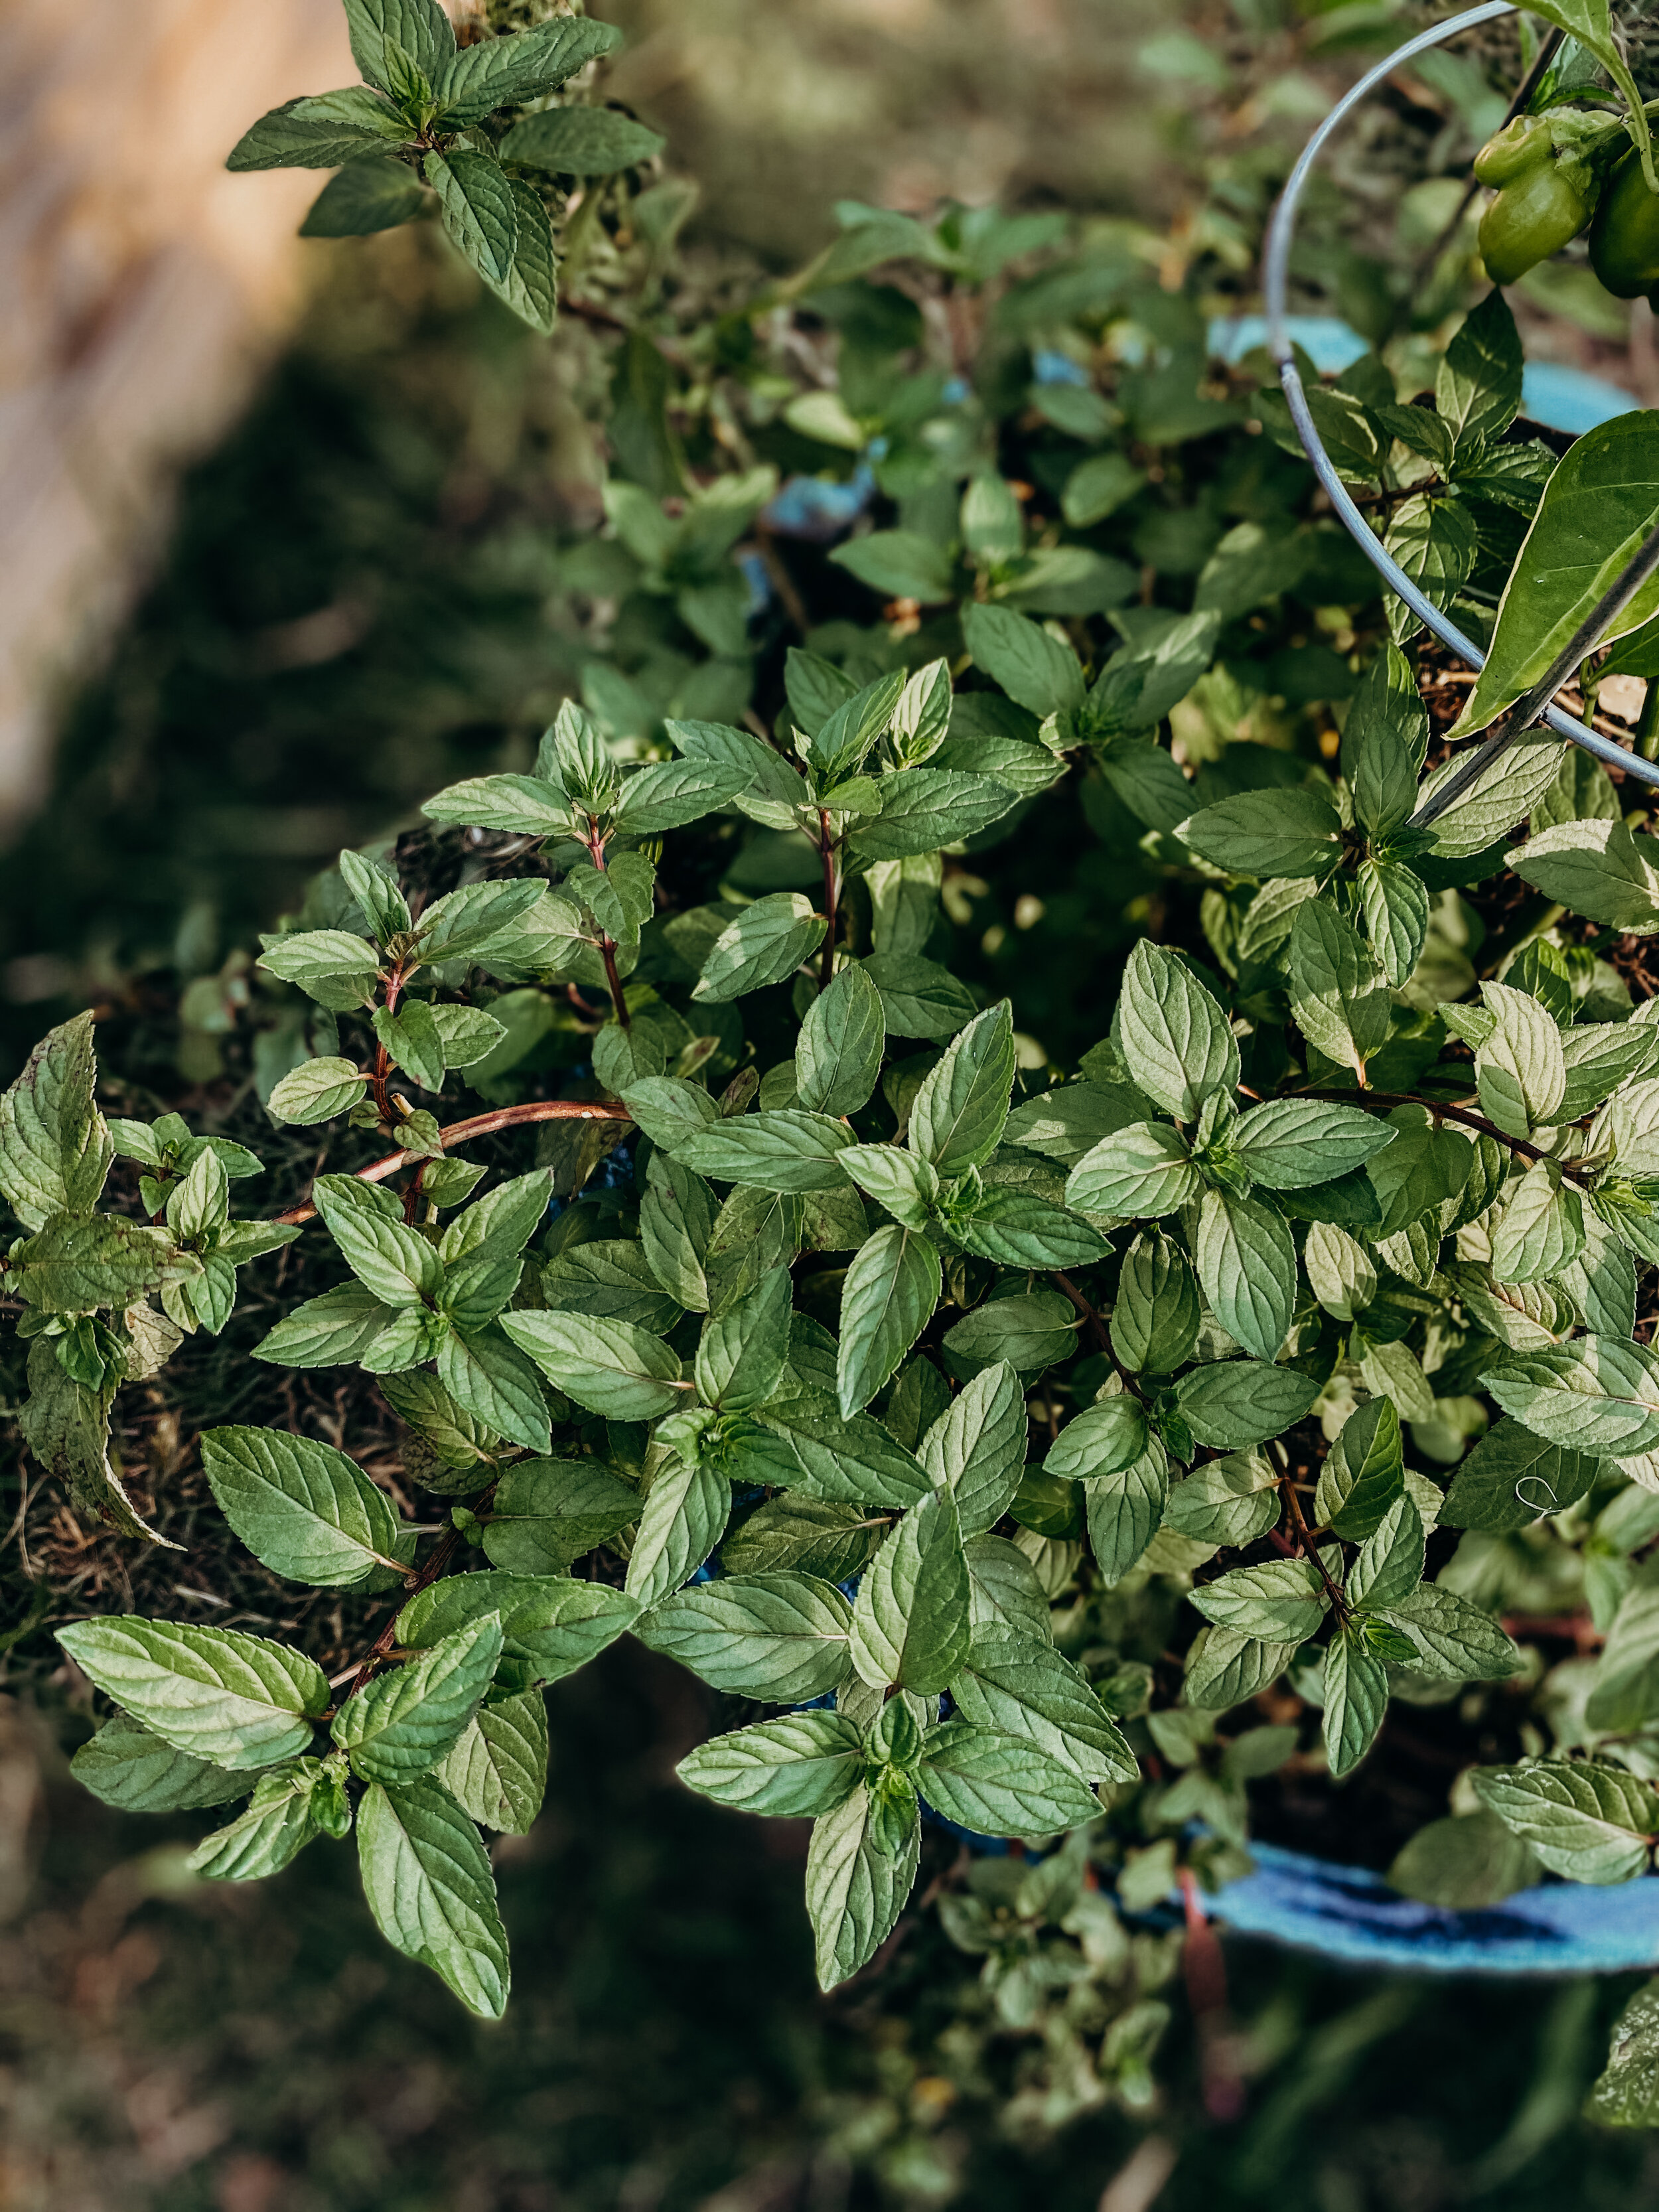
Mint/Peppermint:
Plant next to: cabbage, tomatoes, kale, cauliflower, radishes, carrots, onions, beets, brussels, peppers, squash, peas, kohlrabi, broccoli, lettuce
Keep away from: chamomile, but mint very invasive and is ideal for container planting rather than garden
Attracts: cats :)
Repels: white cabbage moth, aphids, flea beetles, carrot flies, onion flies, mosquitoes, spiders
Climate: Full Sun/Wet Soil.
Care: Mint can be invasive; it spreads rapidly by shallow, underground runners. Contain mint within metal strips set 10 inches into the soil or bottomless containers 10-inches deep sunk into the ground. Dig out old plants after five years and start anew.
When to Harvest: Pick mint leaves and sprigs as you need them throughout the growing season. Cutaway flower stalks before they bloom for a sweeter taste. Cut the entire plant down to 2 or 3 inches above the soil at midseason and it will regrow for a second harvest.
How to Harvest: Use a snip or scissors to cut off the top leaves and tips of branches or pinch off individual leaves for fresh use. For drying, cut stems 4 to 6 inches above the soil surface.
Oregano:
Plant next to: tomatoes, peppers, squash, potatoes, asparagus, corn, mushrooms, basil, good companion to all vegetables
Keep away from: can be planted near all vegetables!
Attracts: aphids, mites
Repels: most insects and pests!
Climate: Full Sun/Dry Soil
Care: For smaller, thinner plants space 8 - 10 inches apart, wider plants can spread up to 18 inches. Allow plants to grow up around 4 inches tall and then trim back to encourage fuller growth. Thin out the plants every 3-4 year. Oregano is a self seeding plant and therefore should grow back rather easily.
When to Harvest: Harvest leaves as needed. The most flavorful leaves can be found right before the flowers bloom.
How to Harvest: Snip leaves with garden pruner or sharp scissors.
Parsley:
Plant next to: asparagus, corn, tomatoes
Keep away from: onions, garlic, lettuce
Attracts: swallowtail butterflies, wasps, flies
Repels: asparagus beetles
Climate: Partial Sun or Shade/Wet Soil
Care: To keep parsley productive, cut back the full length of outside stems (cut at the base). Remove flower stalks that form. (When flowers are allowed to remain, the leaves will become bitter.) Prune away dead leaves as needed to keep the plant tidy. Towards the end of the growing season, cut back plants to promote new growth.
When to Harvest: Gather parsley stems and leaves as you need them. Parsley will mature 70 to 90 days after sowing. Harvest leaves before plants flower; once flower spikes form, the leaves will be bitter tasting. At the end of the season, let parsley flower, collect the seeds to replant next year.
How to Harvest: Cut outer leaf stalks at the base for fresh foliage (let inner leaves continue to grow). Cut the whole plant at once and it will re-grow. Harvest parsley by cutting the leafy stems from the base of the plant—this will also serve to make the plant grow back bushier. Harvest the larger, outer leaves first. Dig roots in fall of the first year or spring of the second year using a garden fork.
Rosemary:
Plant next to: broccoli (best companion), sage, cabbage, beans, carrots, thyme, hot peppers
Keep away from: basil, most herbs (except sage), carrots, potatoes, pumpkins
Attracts: aphids, white flies
Repels: cabbage flies, bean parasites, cabbage moth, carrot fly, broccoli pests
Climate: Full Sun/Dry Soil
Care: To encourage fresh growth, trim rosemary back several inches twice each season. Prune plants after the flowers have faded.
When to Harvest: Snip fresh foliage as needed all year; rosemary leaves are most aromatic just before the plant blooms.
How to Harvest: Harvest leaves and branches with a garden pruner. Take 4 to 6-inch sprigs from the tips of the branches for kitchen use. Strip the leaves from the stems. Never prune more than one-third of the plant at one time; severe pruning will stress the plant.
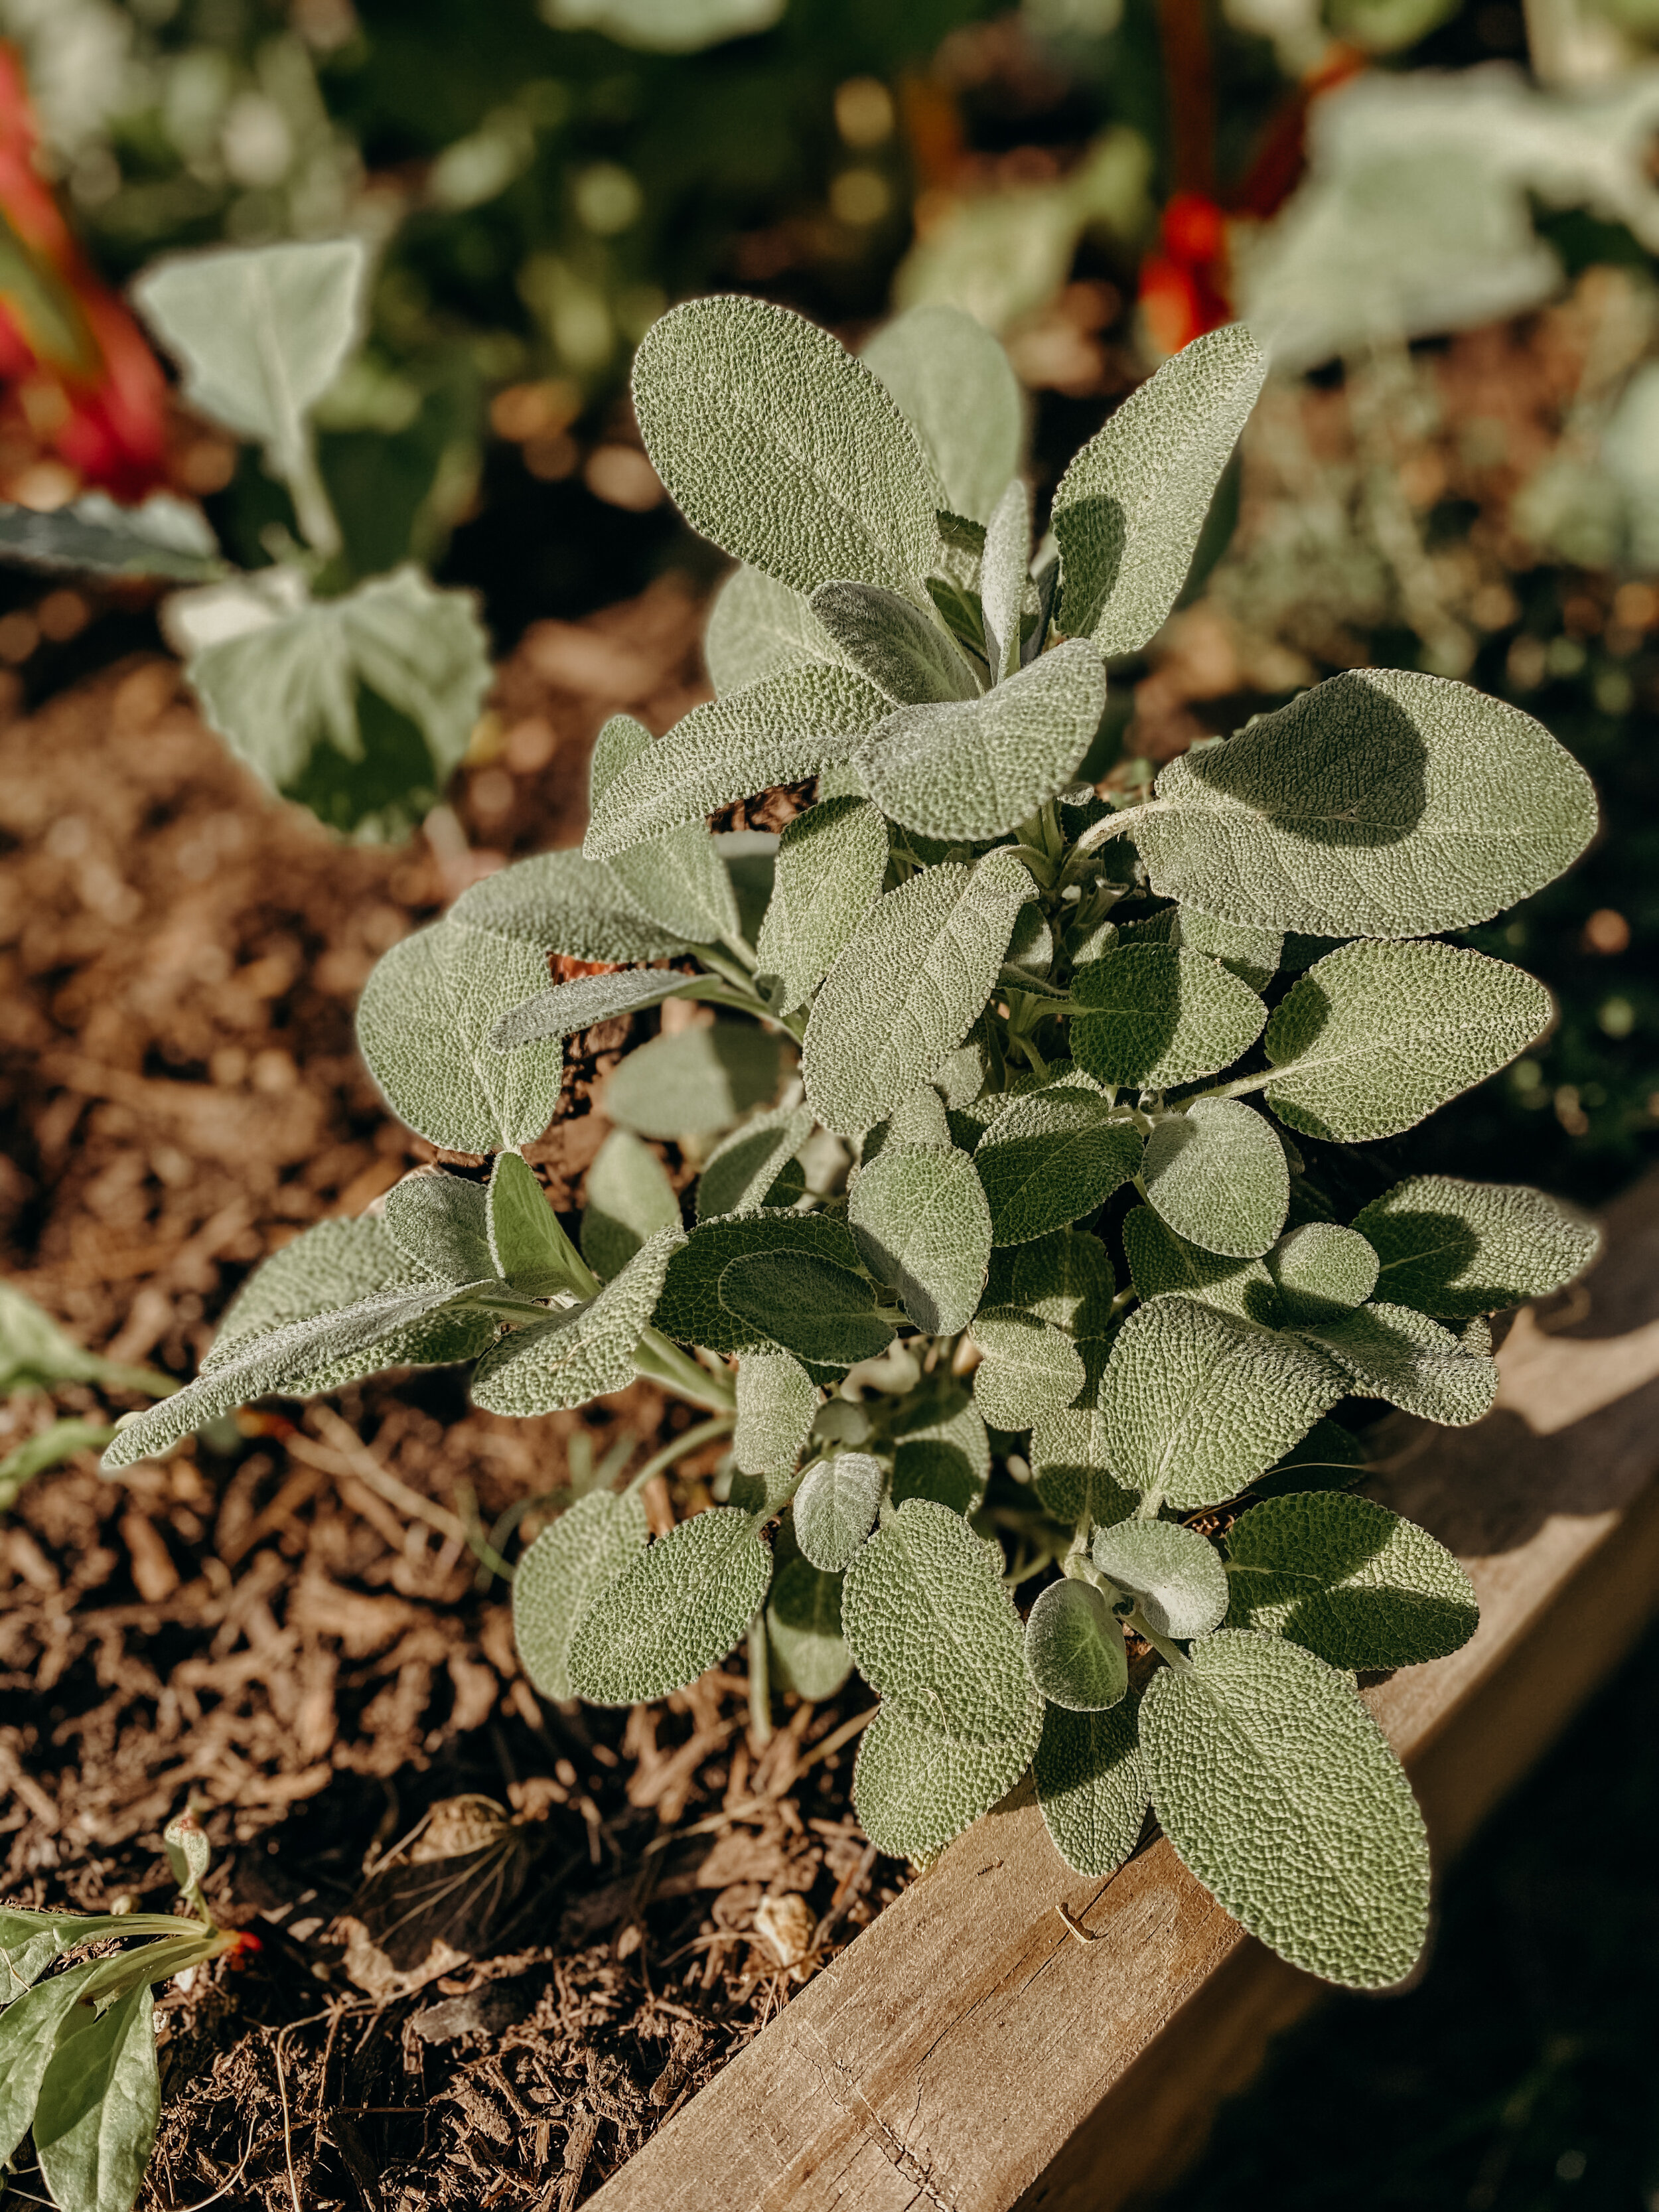
Sage:
Plant next to: rosemary, radishes, strawberries, tomatoes, carrots, cabbage
Keep away from: cucumbers, and all herbs and plants that need ample water
Attracts: honey bees, cabbage butterfly
Repels: cabbage moth, carrot fly, bean beetle
Climate: Full Sun/Dry Soil
Care: Divide sage plants every three years to maintain vigor. For best flavor, prune away flower stems before they bloom. Trim or cut plants back in autumn to renew foliage for the following season. Sage will become woody and decline after several years and should be replaced.
When to Harvest: Snip off individual leaves as needed during the growing season. Sage requires 75 to 80 days from sowing to reach maturity.
How to Harvest: Prune or trim sage with a garden pruner. Harvest leaves from well-established plants. Trim away 6 to 8 inches of leafy growth twice during the growing season to keep sage bushy.
Tarragon:
Plant next to: everything, but especially eggplant
Keep away from: does well with almost all vegetables!
Attracts: repels most pests!
Repels: most pests
Climate: Full Sun/Partial Sun or Shade/Wet Soil
Care: Remove flowers to keep plants productive during the growing season. Divide French tarragon every 3 to 4 years to keep plants growing vigorously.
When to Harvest: Pick young, top leaves in early summer for best flavor. Cut back leafy top growth several times during the season to encourage the plant to bush out with new growth. Stems can be pruned in early summer and again at the end of the season.
How to Harvest: Snip leaves and stems with a garden pruner or scissors. Handle leaves gently; they bruise easily.
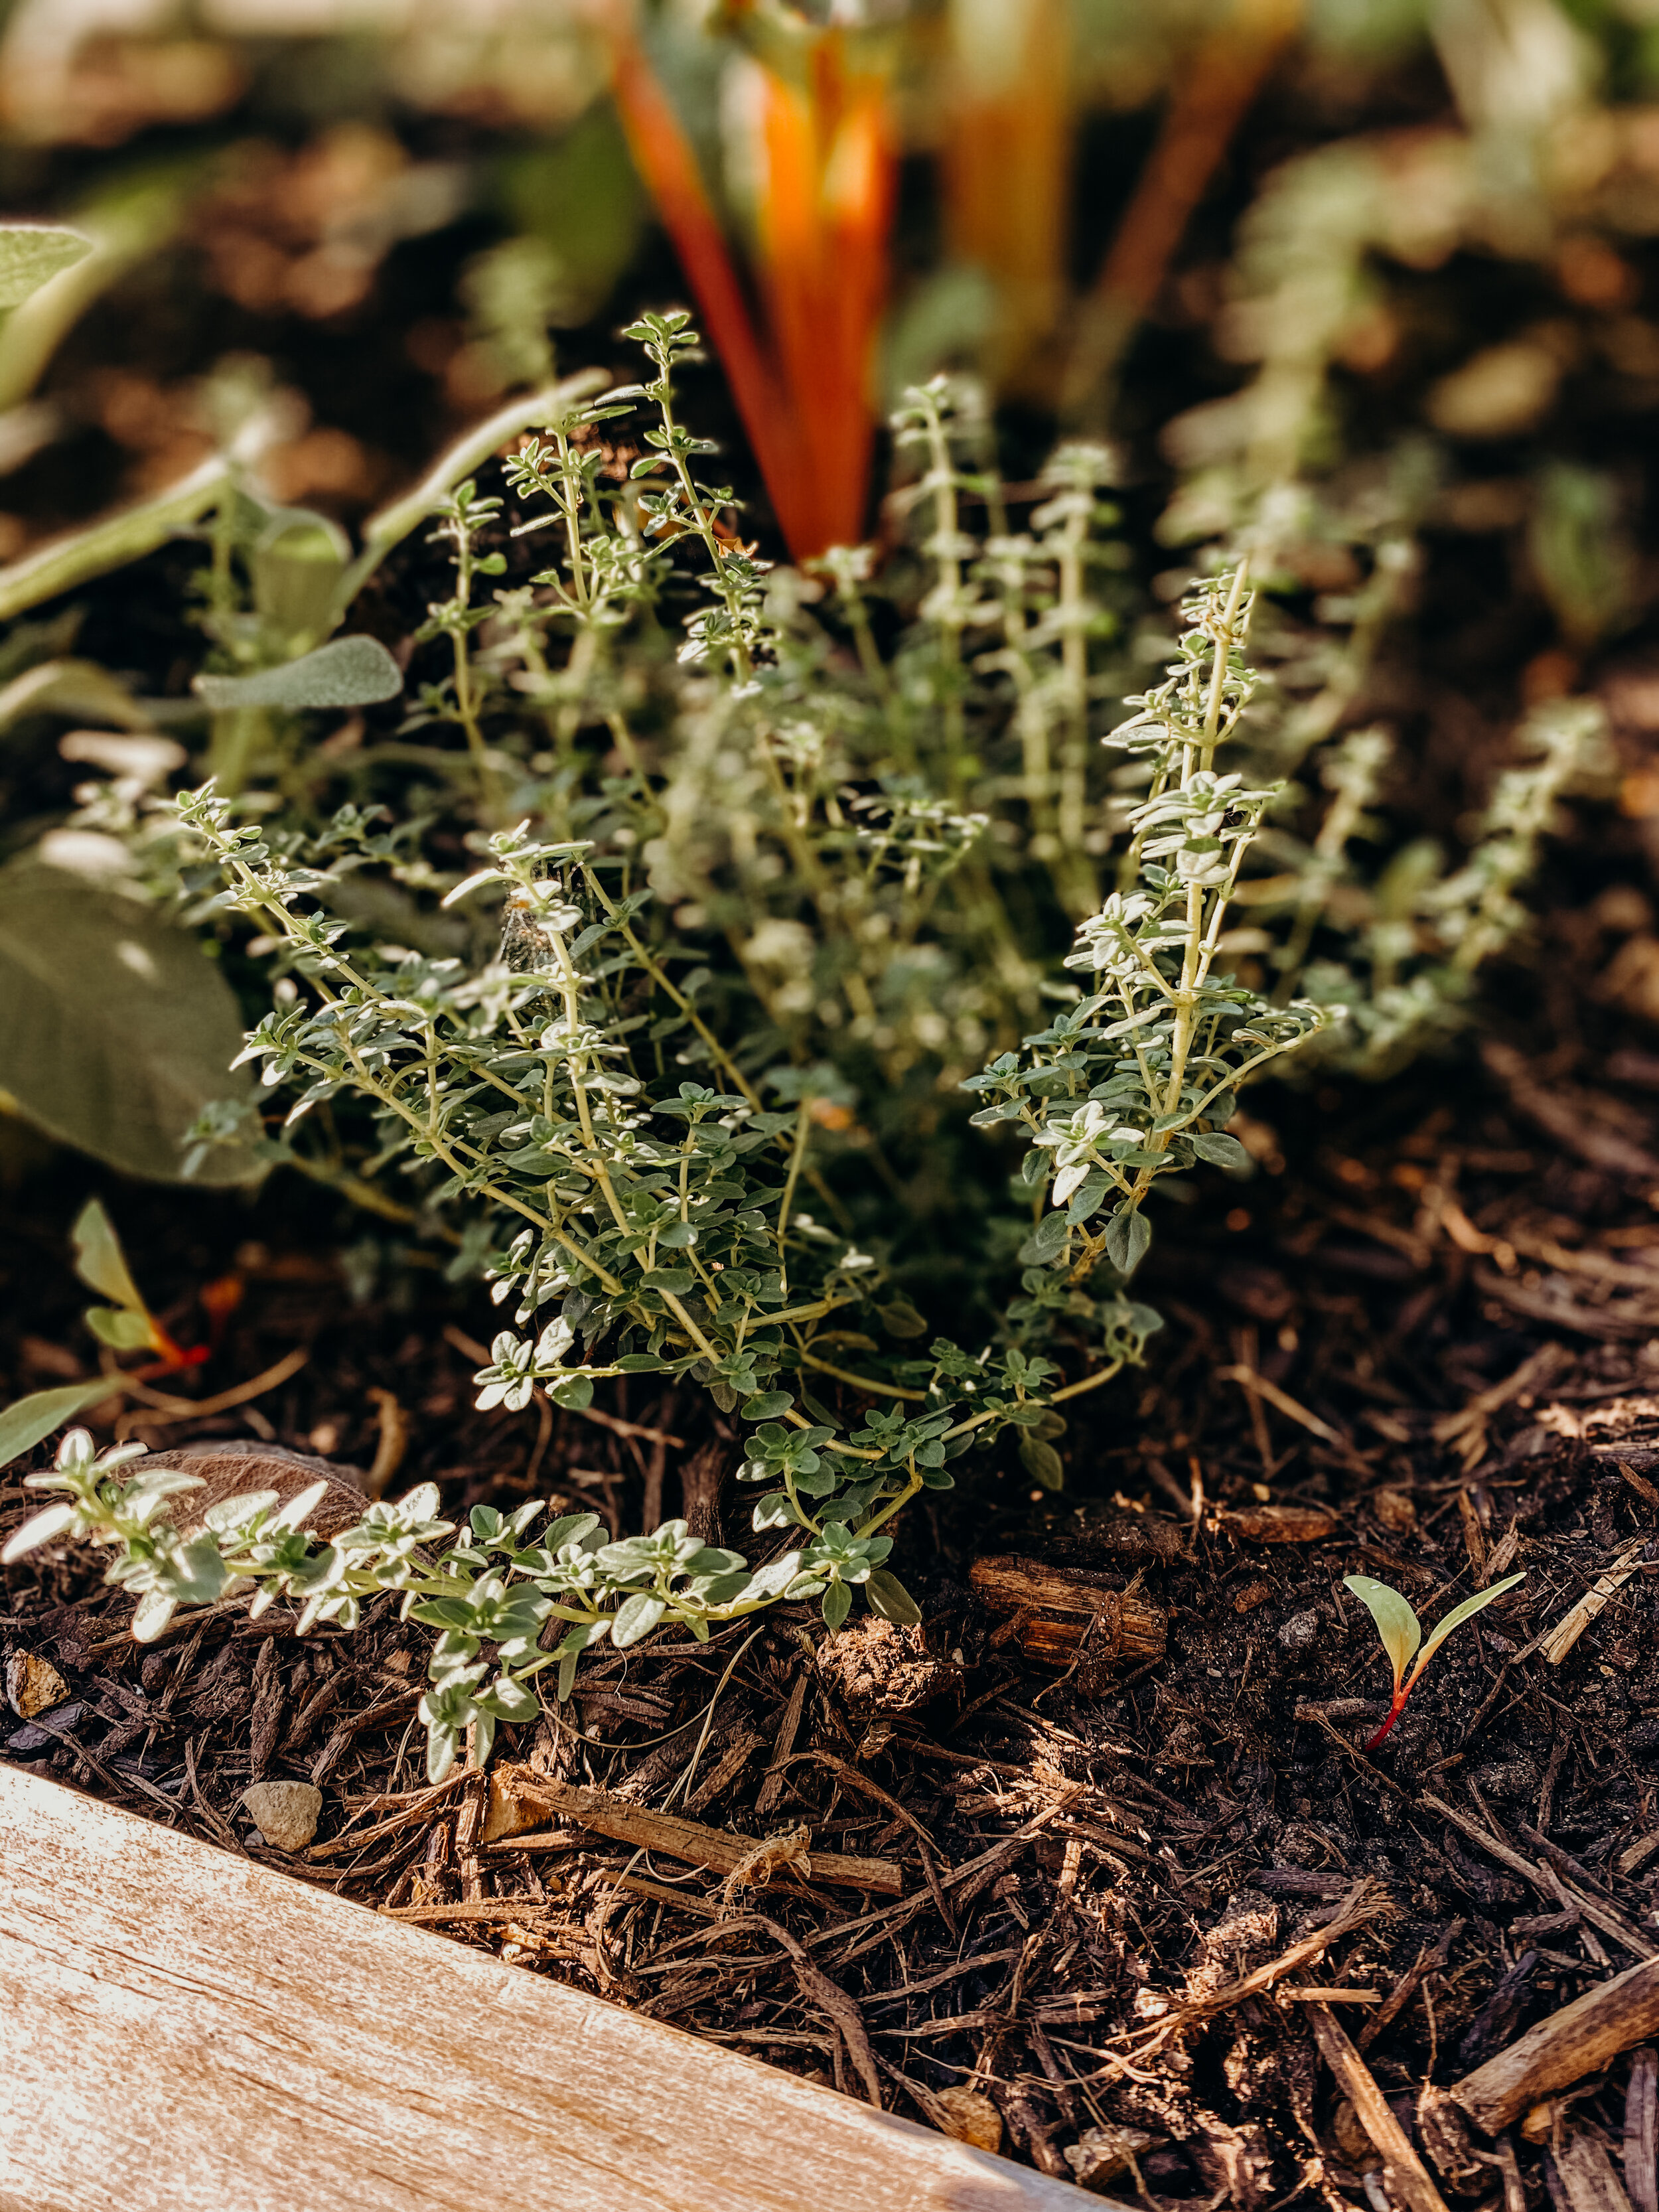
Thyme:
Plant next to: rosemary, sage, cabbage, broccoli, potatoes, strawberries, brussels
Keep away from: chives
Attracts: bees
Repels: cabbage worms, white fly
Climate: Full Sun/Dry Soil
Care: Keep planting beds weed-free. To keep thyme from becoming woody, prune plants back by one-third in spring and again after flowering in summer. Divide thyme every three years so that they do not become woody.
When to Harvest: Snip thyme leaves as needed once plants are 6 to 8 inches tall. The flavor of thyme leaves will be most intense before flowers open. For drying, harvest plants when they begin to bloom.
How to Harvest: Snip leaves with a garden snip or scissors. Trim back the tops of woody branches with a garden pruner. Cut back thyme to about 3 inches high twice during the growing season to encourage vigorous growth.

Get Everything You Need to Start You Own Herb Garden Below
Peat Pots - Seed Starters - We encourage *the use of peat pots when growing seedlings, because they are biodegradable/compostable and easily planted from pot to soil. That does not mean they can not be reused, but they will break down eventually. Simply break the bottom off and tear up the sides a bit and plant directly into the ground once your sprouted plant is ready. (*I also use plastic re-usable containers from local plant purchases that we recycle to keep them from landfills.)
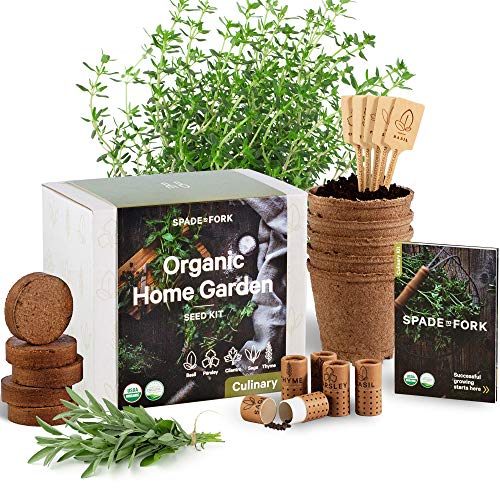
Complete Herb Starter Kit - For those that want everything in one purchase, this comes with potting soil, peat pots, 5 organic herb seed varieties, and labels for each. The presentation is really nice, sustainable, and would make a fantastic gift.


CREDITS:
Author - Andea Beims
Photos + Photo Editing by HIVEhome team-member + Honey in the HIVE- Jessica Collins of https://jessicacollins.photography.
Printable + Editing + Publishing by HIVEhome team-member + Honey in the HIVE - Andrea Haney.
Research - HIVEhome team-member + Honey in the HIVE - Rachel Heppel
Styling + Photos by HIVEhome intern - Nevaeh Beims
ENJOY THIS POST? PIN IT + SHARE IT!


HIVEhome is a participant in the Amazon Services LLC Associates Program, an affiliate advertising program designed to provide a means for sites to earn advertising fees by advertising and linking to Amazon.com.